New rendering

Mark whipped up a new rendering of the house for the site sign I'm putting together. Can't wait to duplicate this image in real life.

Documenting the design and construction from start to finish of a Passivhaus (Passive House) in Ottawa, Canada. Insider info on what it's like working with an architect and costs associated with building.
Posted in: About
Mark whipped up a new rendering of the house for the site sign I'm putting together. Can't wait to duplicate this image in real life.
Slab and foundation/basement walls with insulation and frost skirt
With the slab poured and the ICF well under way, I thought I would write a quick post with visuals explaining the construction methods and materials being used. I've created some images to go along with all the photos we've been posting to hopefully add some clarity to what you've been looking at so far!
The images above and below show the concrete foundation and foam insulation as it will be once completed. The image below has labels calling out the various layers.
Components of the foundation
The biggest difference between our foundation and a typical residential foundation is the lack of concrete footings. A typical foundation would pour strip concrete footings right onto undisturbed soil, then pour the concrete walls, and finally pour the slab inside the walls. In our home, the slab is poured before the walls and will actually support them, which is why it is so much thicker (8" instead of the standard 4") and has so much steel rebar in it. It is also completely contained within the foam insulation tray, eliminating any thermal bridging through the concrete to the ground. The end result of this is a concrete floor that will retain the heat it absorbs from the house above, rather than simply dumping it through into the ground.
The walls on top of the slab are made up of three layers. First is the ICF (insulated concrete forms) from Nudura. These are like Lego for grow ups. They snap together to form the walls and are held apart by integrated webbing. The cavity is 6" wide and on Friday we will be pouring it full of concrete. Watch for photos this week showing the alignment system that will ensure the walls are straight and true as the concrete is poured.
Once the concrete is poured and the walls straightened, we will be adding two more layers of foam from Styrorail to the exterior to build up the insulation value of the walls. The first layer has horizontal wood strapping embedded, and the second layer will cover this wood and effectively embed it in the middle of the wall. The foam will be glued in place using PL 300 glue, which is specifically formulated not to deteriorate the foam over time. The horizontal wood strapping gives us something to tie back into when we go to install our siding above grade.
The slab poured and the first layer of ICF in place.
Now let's talk about the big white elephant in the room: why so much foam? The amount of insulation is one of the trade offs required to achieve passive house performance on such a challenging site. Because of the limitations of orientation and south-facing window areas, we have to compensate by beefing up the thermal envelope more aggressively than you might find in other passive house projects. The final thickness was determined after several rounds of refinement of the energy model (using PHPP for those keeping track). The really nice thing about this configuration is that all of the concrete is on the warm side of the thermal envelope, where it will hold its warmth, and is protected from expansion and contraction. This alignment becomes especially important when we get to the design of the framed walls above...more on that soon.
ICF at the end of 1 day's work.
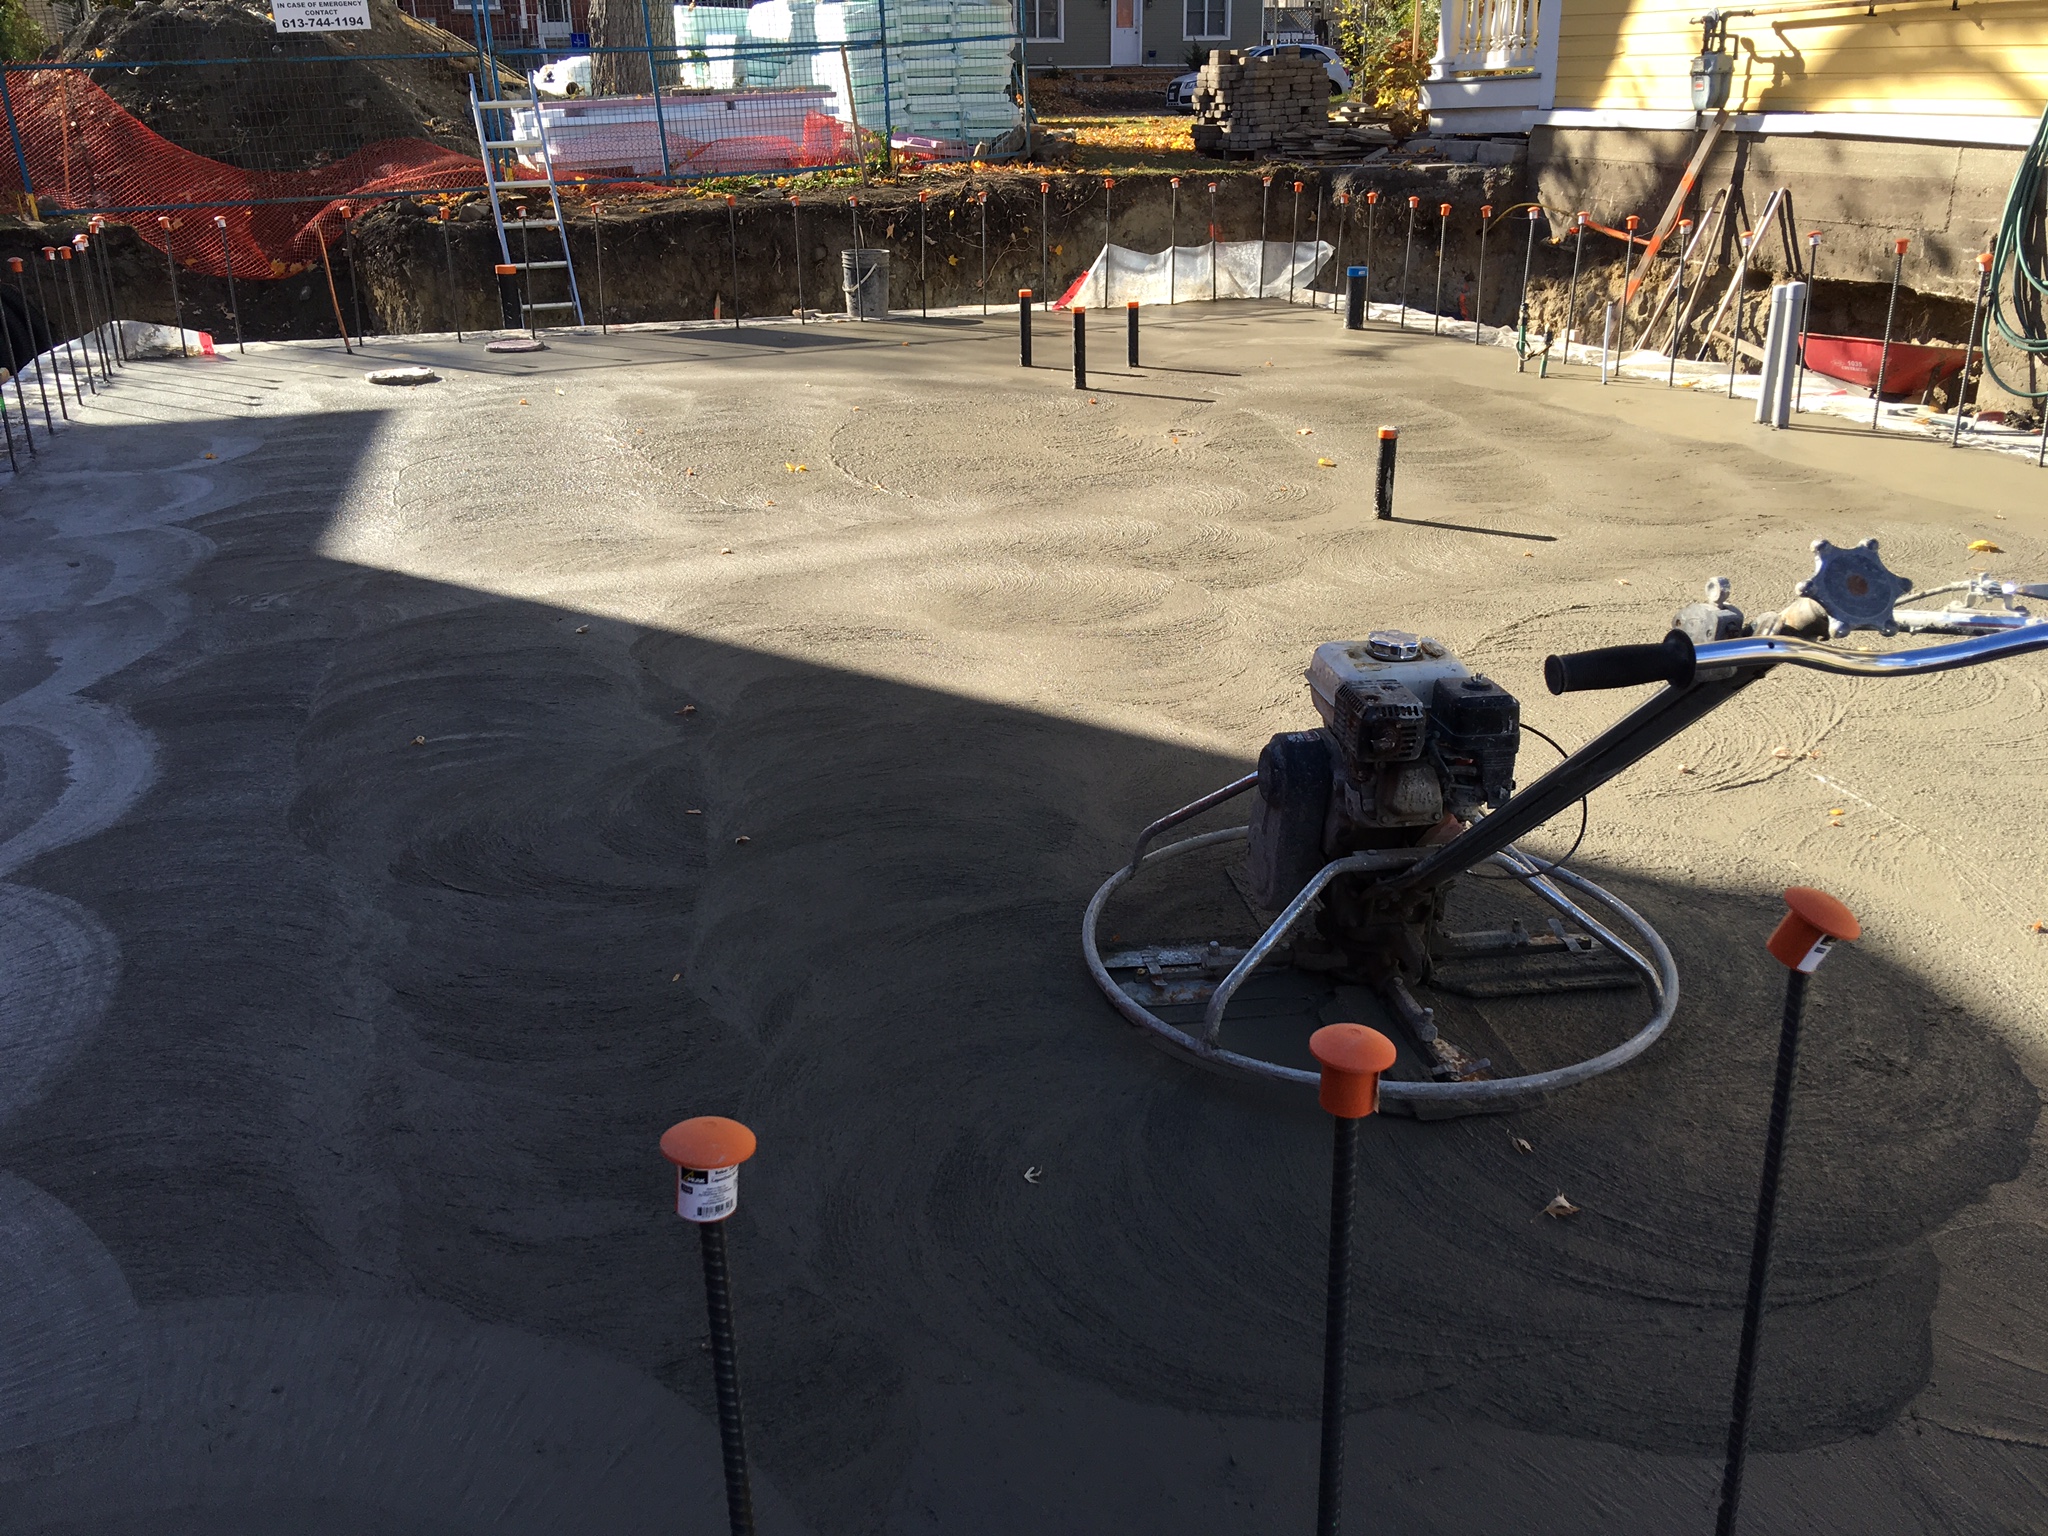
Work started this week with more rebar — the critical metal mesh which reinforces our structural concrete slab. Once the metal work was complete, our structural engineer, Peter Campbell, came by to inspect and sign-off on it. Check and check. We were ready for concrete.
I am relieved to say that the concrete pour went really well. The team was great and the slab looks great. But this step did not want to happen. First of all, concrete is surprisingly expensive. We had a hard time assembling quotes. Ended up having our guys at Cornelis Grey tie and prepare the metal, ordering our concrete from one company, and a concrete pump truck from another company. A lot of extra coordination. And then on the day before the pour, our concrete team tried to cancel on us! Fortunately for us, Mark can be very persuasive and eventually it all worked out. Once underway, they had to pause work several times to clear leaves off the wet concrete, but otherwise all good.
On Friday, our Cornelis Grey team started installing the ICF forms for our basement walls. This work will spill over to next. And today we ventured out to the Herrmann's. We ordered our Gaulhofer windows and doors through them and they have been sitting in their immaculate warehouses for a couple months now. We finally found the time to visit them. Boy are they spectacular. And those blue doors! Swoon. They will be a joy to operate every day. Really looking forward to getting those installed. We’re still hoping to be closed in before Christmas.
This was a big week. We have a fab slab. Now it’s onwards and upwards — with walls! Speaking of those walls, I think it’s high time I get Mark to post a little something about them. There aren’t enough hours in the day.
And some more pics from the week:
Concrete pour -- hand troweling near the wall rebar
Machine leveling
Site inspection
Our big blue door!
I’ve fallen behind on my blogging over the past couple weeks as I’ve started a new full-time job. Which means Mark is handling almost all aspects of the build and I’m playing catch-up over my evenings and visiting the job site on weekends. Thank goodness Mark’s more than capable and is starting to roll up his sleeves on the blog-front too. This is good for all of us, because he’ll be much better at explaining many of the build aspects than moi.
Weeks 6 and 7 were laying the foam for the tray — our structural slab. Read Mark’s post on this, if you haven’t already. Towards the end of the week our team at Cornelis Grey started tying rebar for the slab, on which the concrete will be poured. Hopefully they’ll be finished this laborious task by Monday and we can get the concrete going as soon as possible next week. They have around 1,500 ties to complete, all manually. They’ll probably never want to see rebar ever again in their lives after this…
Work resumed this week. “Sewer-gate” was resolved, in that our neighbours sewage pipe was relocated. It was an unfortunate setback, but we are very fortunate and thankful that our yellow-house neighbours were so cooperative.
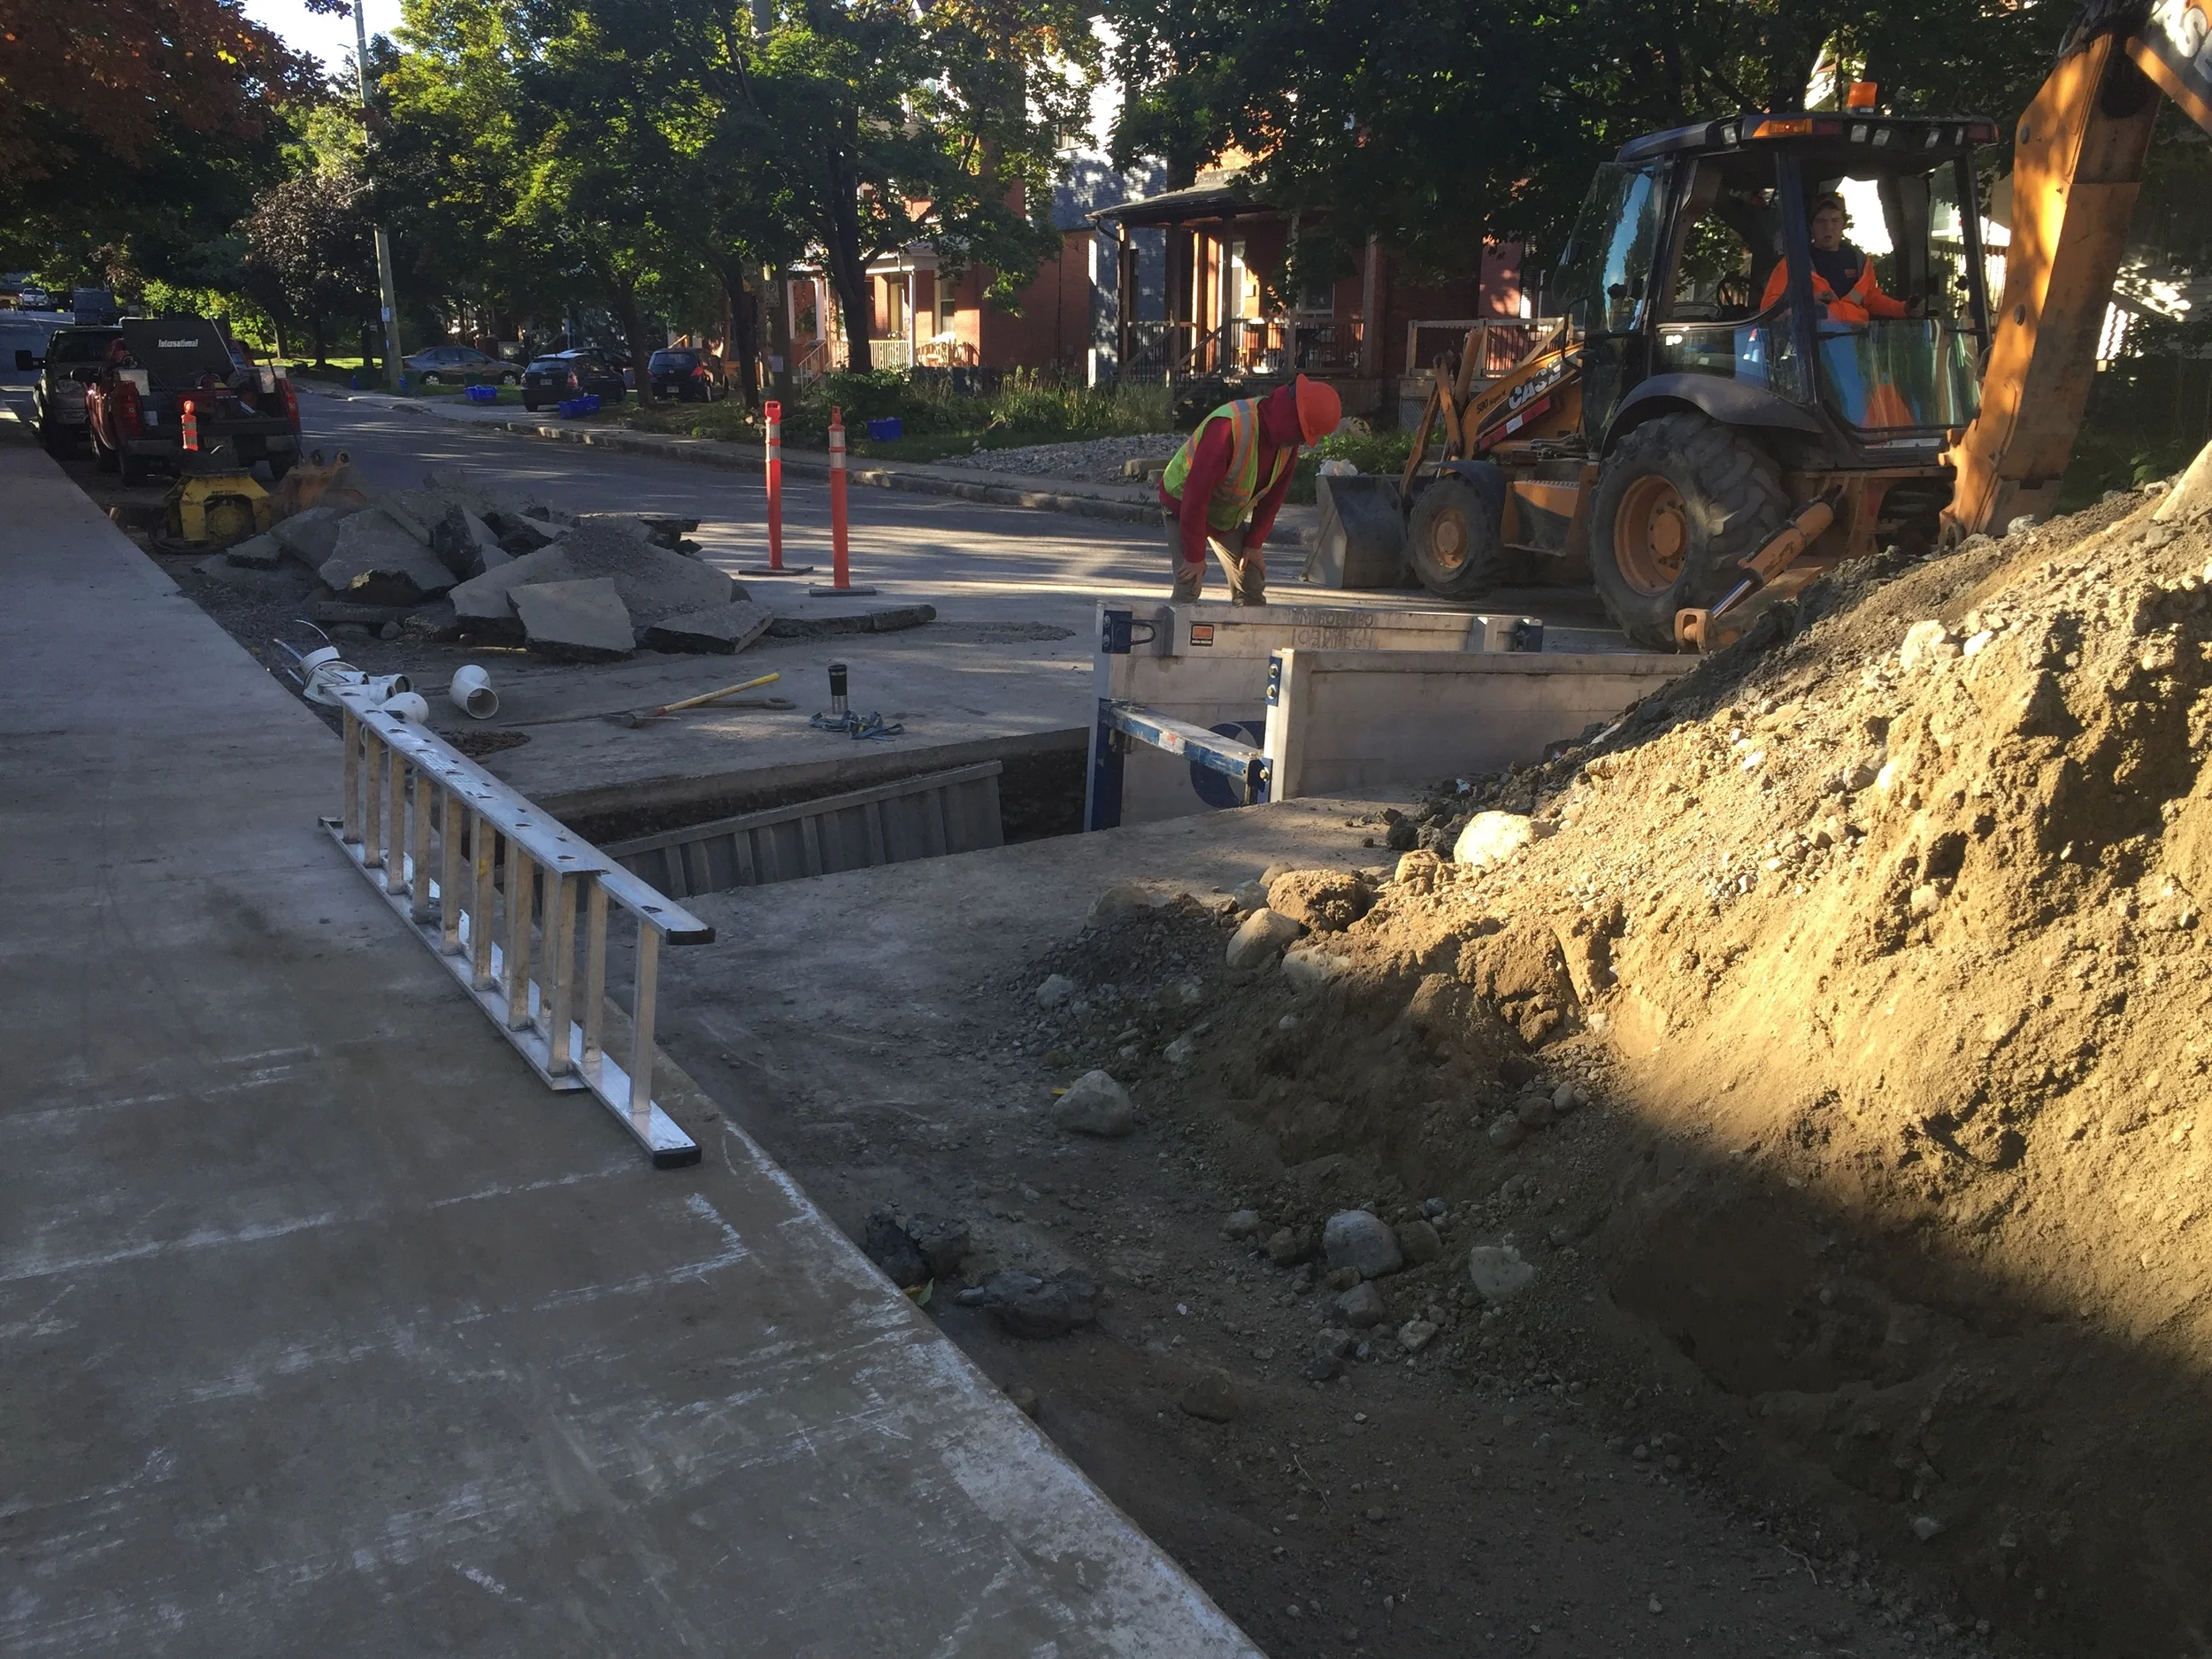
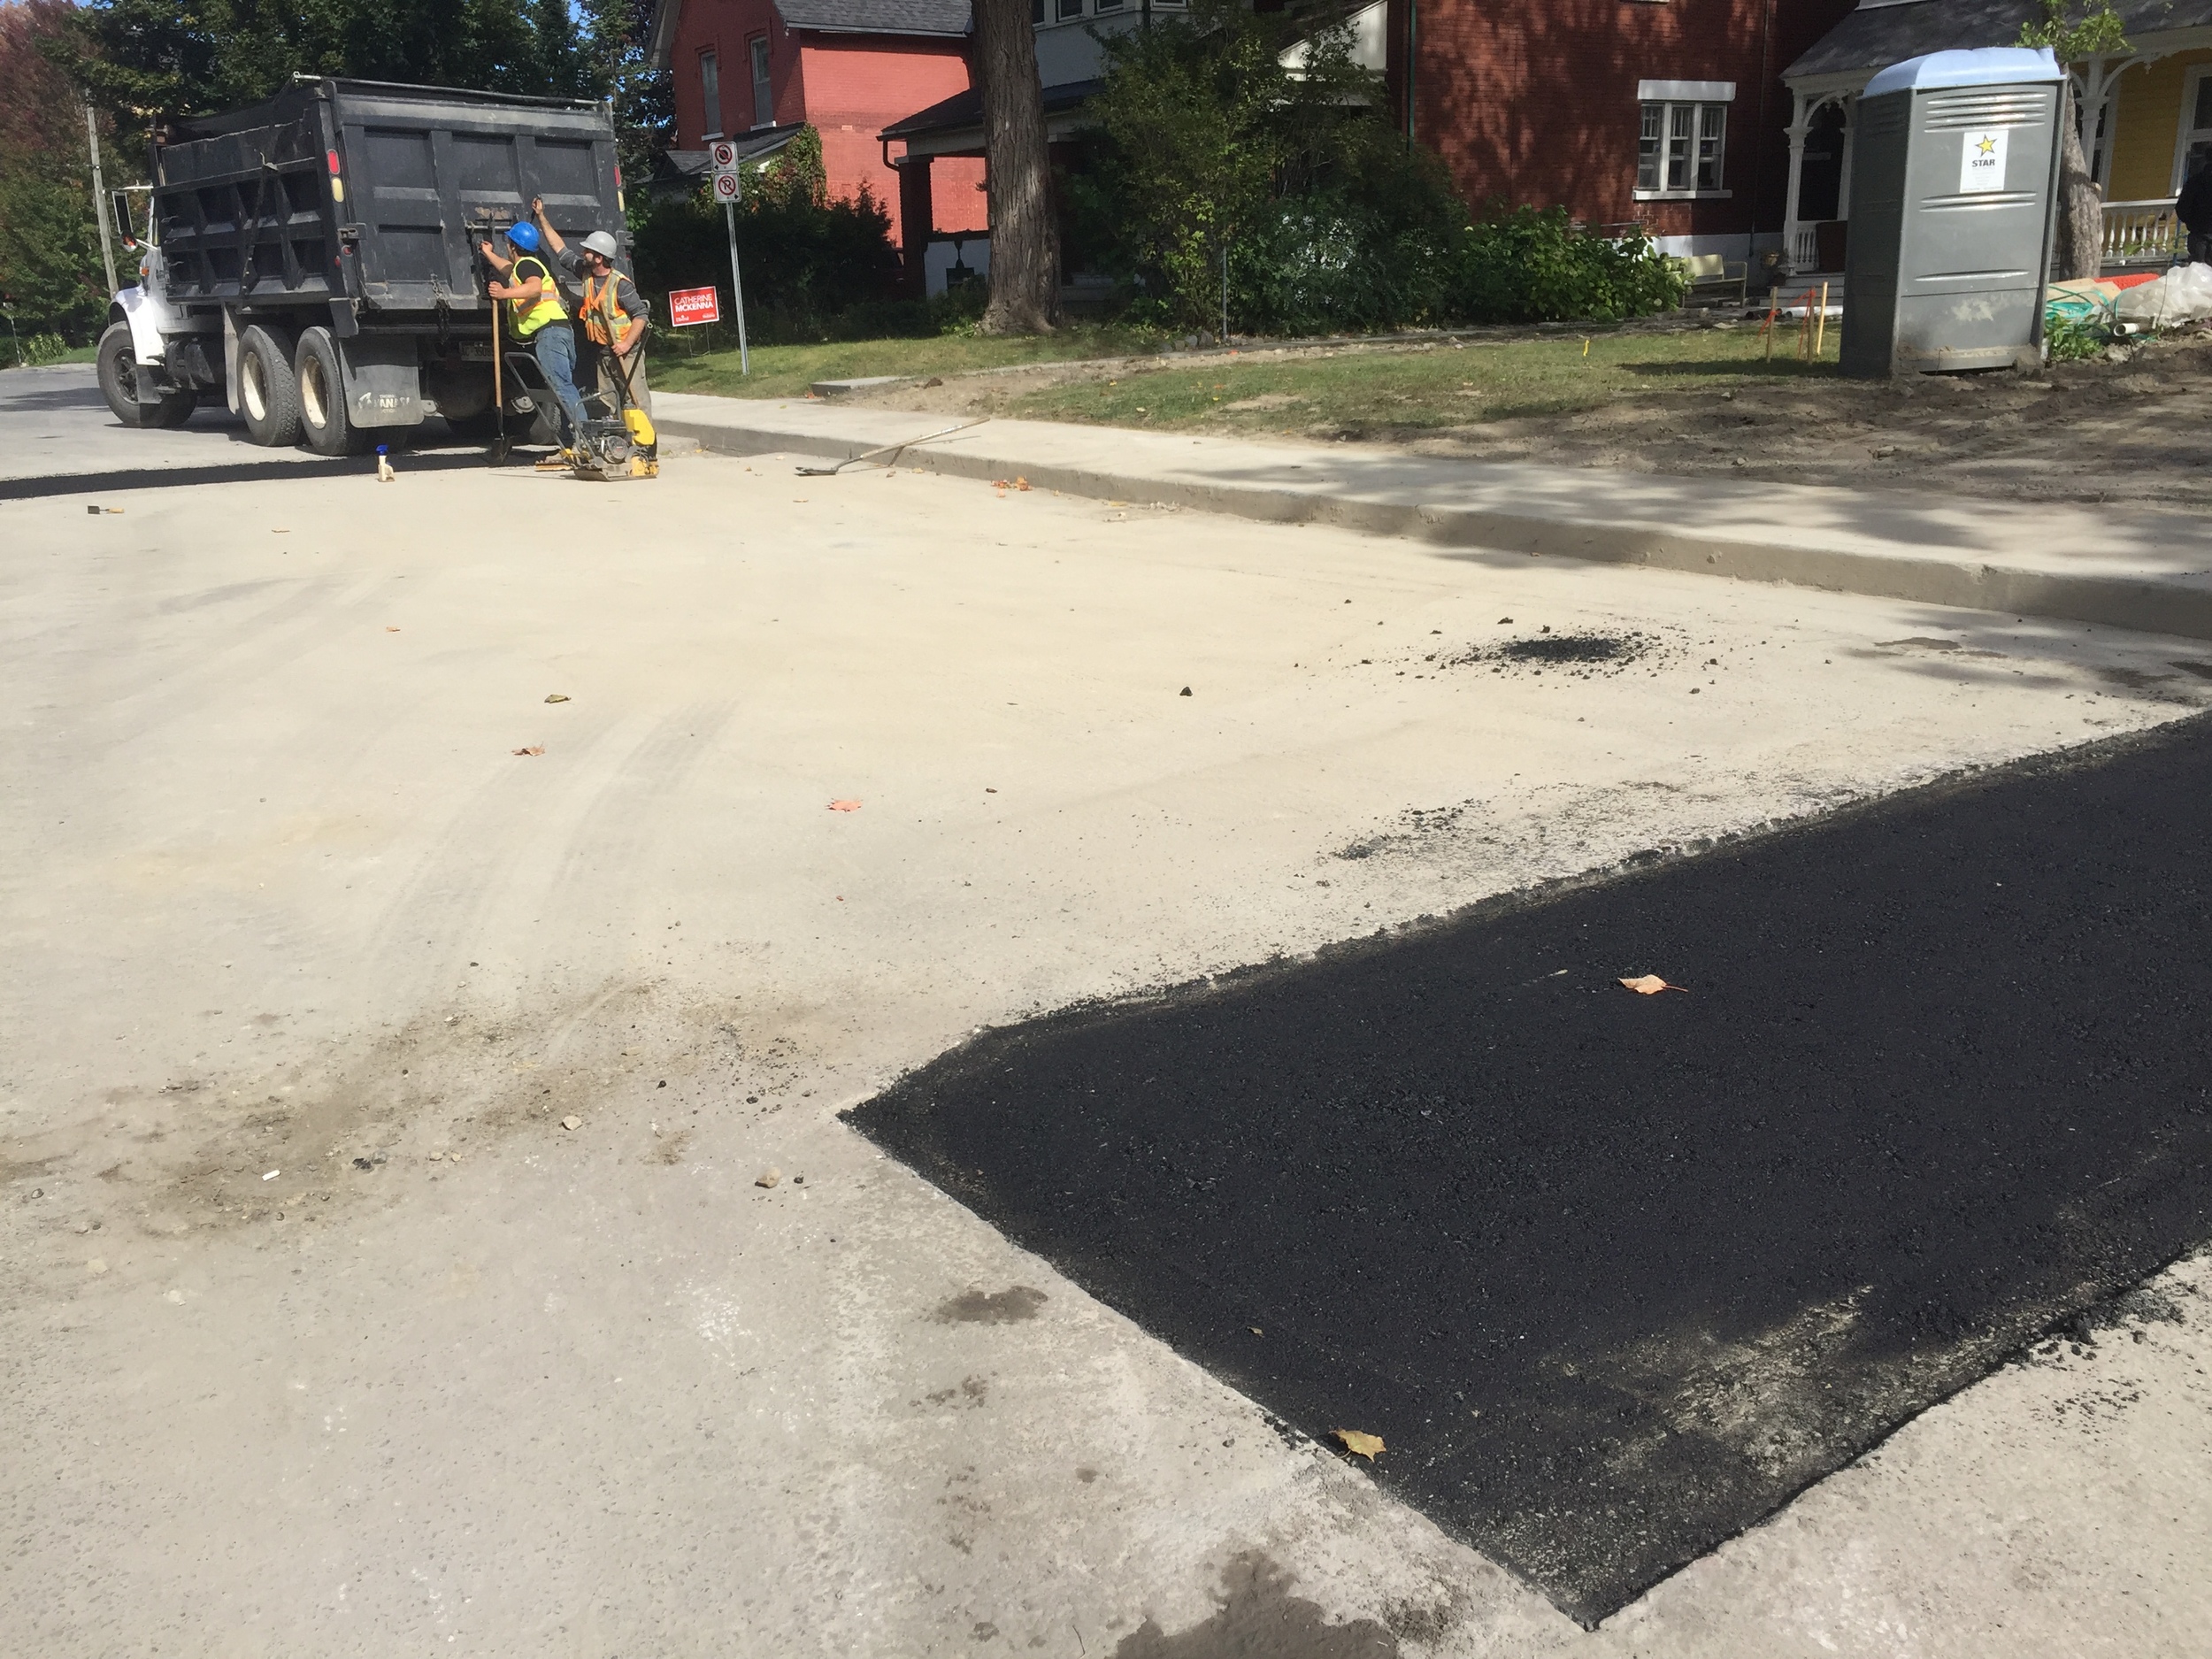
Our excavators performed each task this week twice — for us and our neighbours. Tasks included: digging trenches out to the street, digging up the road, laying down some pipe, connecting to the city storm & sewage, backfilling, and finally sealing the road. They managed to burrow underneath the sidewalks, saving the repair hassle BONUS. Once our neighbours house was connected through their new-fangled pipes, their old pipe was capped with concrete and removed from our hold. Felt good to get that behind us.
Double road cuts -- count them -- 2!!
Mark lay our ground source heat loop over the weekend with a wonderful crew of helpers. Next week (aka, this week): more good things.
Today felt like the first day of actual construction! After a lot of delay, digging, waiting and watching, today marked the first time I actually put on my boots and climbed down into the hole in the ground to start building our passive house. The first step: installing the ground source loop.
The ground source loop is 600 feet of high density polyethylene pipe installed in a continous loop 18" below our insulated foundation. The loop will eventually be filled with a brine or glycol solution and connected to a heat exchanger in our mechanical room. A small pump in the heat exchanger will move the liquid around the loop, picking up free heat from the ground in winter and free coolth in summer and using it to temper the incoming fresh air in our ventilation system. This gives us all sorts of wonderful benefits:
In plainer terms, the ground loop makes heating easier in winter and cooling easier in summer!
The pipe we used is from GeoSmart Energy. It was quite easy to work with, even with the cooler air temperatures this morning. We ran the loops with roughly 2 foot spacing between them. Given the opportunity, an ideal install would likely use greater spacing and a deeper installed depth — to counter this we've installed more length than is propbably required. The spacing and depth are determined in part by the constrictions of our infill site, the size of our footprint, and cost. Going deeper is expensive (not only the digging, but the fill to bring the level back up for the foundation). The original design called for installation 36" below the foundation insulation, but by reducing this to 18" we saved over $4000 in compacted fill and labour. Definitely the right call.
We will be connecting the loop to the Zehnder ComfoFond, which plays very nicely with the ComfoAir 350 we have planned. The two units have been designed to communicate and work together well. I'm happy to stick with one manufacturer for all of the pieces of this heat exchange/ventilation system, which definitely has it's perks when it comes to maintenance and warranty.
I'm looking forward to connecting and filling the loop, but that will have to wait until the mechanical system is installled (which is still months away). Once we do, we will be able to play with the flow rates through the loop to optimize the amount of energy we are able to pull from the ground.
Next up we will be installing the engineered fill and all of the sub-slab plumbing and electrical. We are also looking forward to our first big shipment of insulation from StyroRail on Wednesday!
I found this video on a Portland builder's site. It resonates. Because no matter how green or well-built you make your building, if it's not beautiful and functional, it will end up getting torn down like the rest of 'em.
We ran in to a bit of a surprise during the dig. Was it buried treasure? No, no it was not. In fact, it was quite the opposite. Turns out our yellow house neighbours have a sewage pipe that extends out perpendicularly from their house and several feet on to our land — precisely where our foundation needs to go — before making its way to the street .
It needs to move before we can continue building our home. We lost some precious time last week trying to wrap our heads around the issue. Every house is supposed to have its own separate sewage connection that runs directly out to the street, and not across adjacent property. But the yellow house was the first on the block. These rules did not apply 130 years ago.
Work is starting up again this Wednesday so hopefully not too much time was lost. Doulos will be starting the road cut and servicing work.
We suffered an unfortunate knock last week. So hopefully we won’t be running in to more delays or ‘surprises’ this week. Argh feels more like F#$%.
Yep. It's a shitty pipe. That's for sure.