Soil bearing capacity test

passive-house-ottawa-soil-bearing-capacity.jpg

I was expecting something more high-tech — maybe a glass box that would be filled with soil and mechanically compressed and measured for PSI. Nope. The engineer went into the hole with a hammer, scraped it in a few places, touched some dirt and said ‘yep, good to go!’. We have a report stating our dirt is comprised of glacial till, silty gravel with clay, cobbles at a bearing capacity of 100 kPa. I guess he just knows. Who knew?

Construction weeks 2 & 3

excavation-ottawapassivehouse.jpg

The digging started last Wednesday and by Friday, the entire hole was dug. It’s a great hole. Not too big and not too small. Juuuuust right. It was clean digging the whole way through. One larger root from the maple tree was damaged, but overall we were pleasantly surprised by how few roots we actually hit.  Some of the dirt our excavators from Doulos Construction removed is still sitting on site, ready to back-fill the foundation, when the time comes…

This week, on Monday, our surveyor is coming back to pin the corners of our foundation within the hole. On Tuesday, a geotechnical engineer is coming to do a soil bearing capacity test on our soil (to be sure it can withstand the pressure of a house). And we will be laying out our ground source heat loop, which is essentially 400m of polyethylene pipe that will be used to help warm/cool the air in our house (more on this later).

Looks like our week might be a bit slower than anticipated as we are still waiting for our road cut permit from the city. This permit process is separate from our building permit. Our excavator applied for the road cut permit on our behalf, but was only able to do so after we had been given our building permit. This is the permission we need to cut the road and connect to city services. We are dealing with a newly appointed city official, which unfortunately for us means slower-than-usual response times. Argh. We were hoping to have our plumber (Nathan from Ackland Plumbing) make his sub-slab connection and start filling the hole with granular and gravel. We shall see as the days progress.

But, let’s not forget: we have a hole in the ground! Mind you, it has filled with water over the weekend…Mark assures me it will drain.

excavation-water-ottawapassivehouse.jpg

Construction week 1

It’s been a whirlwind couple of days. My mind has to catch up with all that has transpired since receiving our permit. Without a moments rest we have:

  1. Made copies of our building permit
  2. Made copies of permit drawing set
  3. Applied with the city for a road-cut permit (to connect to water & sewage (no gas))
  4. Contacted our surveyor and had them stake out the corners of the house so that the excavator can come in and know where to dig
  5. Contacted our excavator with the news that it’s GO time. They will start the dig on Tuesday!!!
  6. Set up a start-up meeting for early next week with some of our key contractors. Our project is unorthodox, we want to make sure we can answer as many questions and ask as many questions up front as possible. Included will be our main carpenter crew, plumber, electrician and our excavator (I think?).
  7. Contacted our city building inspector who will be giving us an inspection schedule (at what stages of the build he will need to come out and inspect). And we’ve requested a meeting with him upfront so he can familiarize himself with the project (again, it’s unorthodox and he’ll likely see things in our house for the first time)
  8. Set up Builders Risk Insurance. Trades that come to our site still need to provide us with copies of their own insurance. Since we are GC’ing this ourselves, we need an additional layer of insurance.
  9. Filed a notice of project with the Ministry of Labour
  10. Gathered material cost estimates for the foundation and ground-source heat loop — concrete, gravel, re-bar and insulated forms.
  11. Ordered a porta-pottie to the site.
  12. Ordered job fencing to the site
  13. Ordered a waste bin and storage pod

Mark’s continuing to work away at our construction drawing set. I am convinced they will be THE most detailed drawing sets an architect has ever produced. He hopes to discover and solve most of our house’s potential problems on paper, on his time and dime, rather than on site, halfway through the build…

Did you catch the part where we start excavating on Tuesday??!! In the meantime, we’re taking the opportunity to unplug and unwind with friends and family in Algonquin Park. 

Startup meeting

Startup meeting

Permit issued

Major excitement at the city of Ottawa HQ

Major excitement at the city of Ottawa HQ

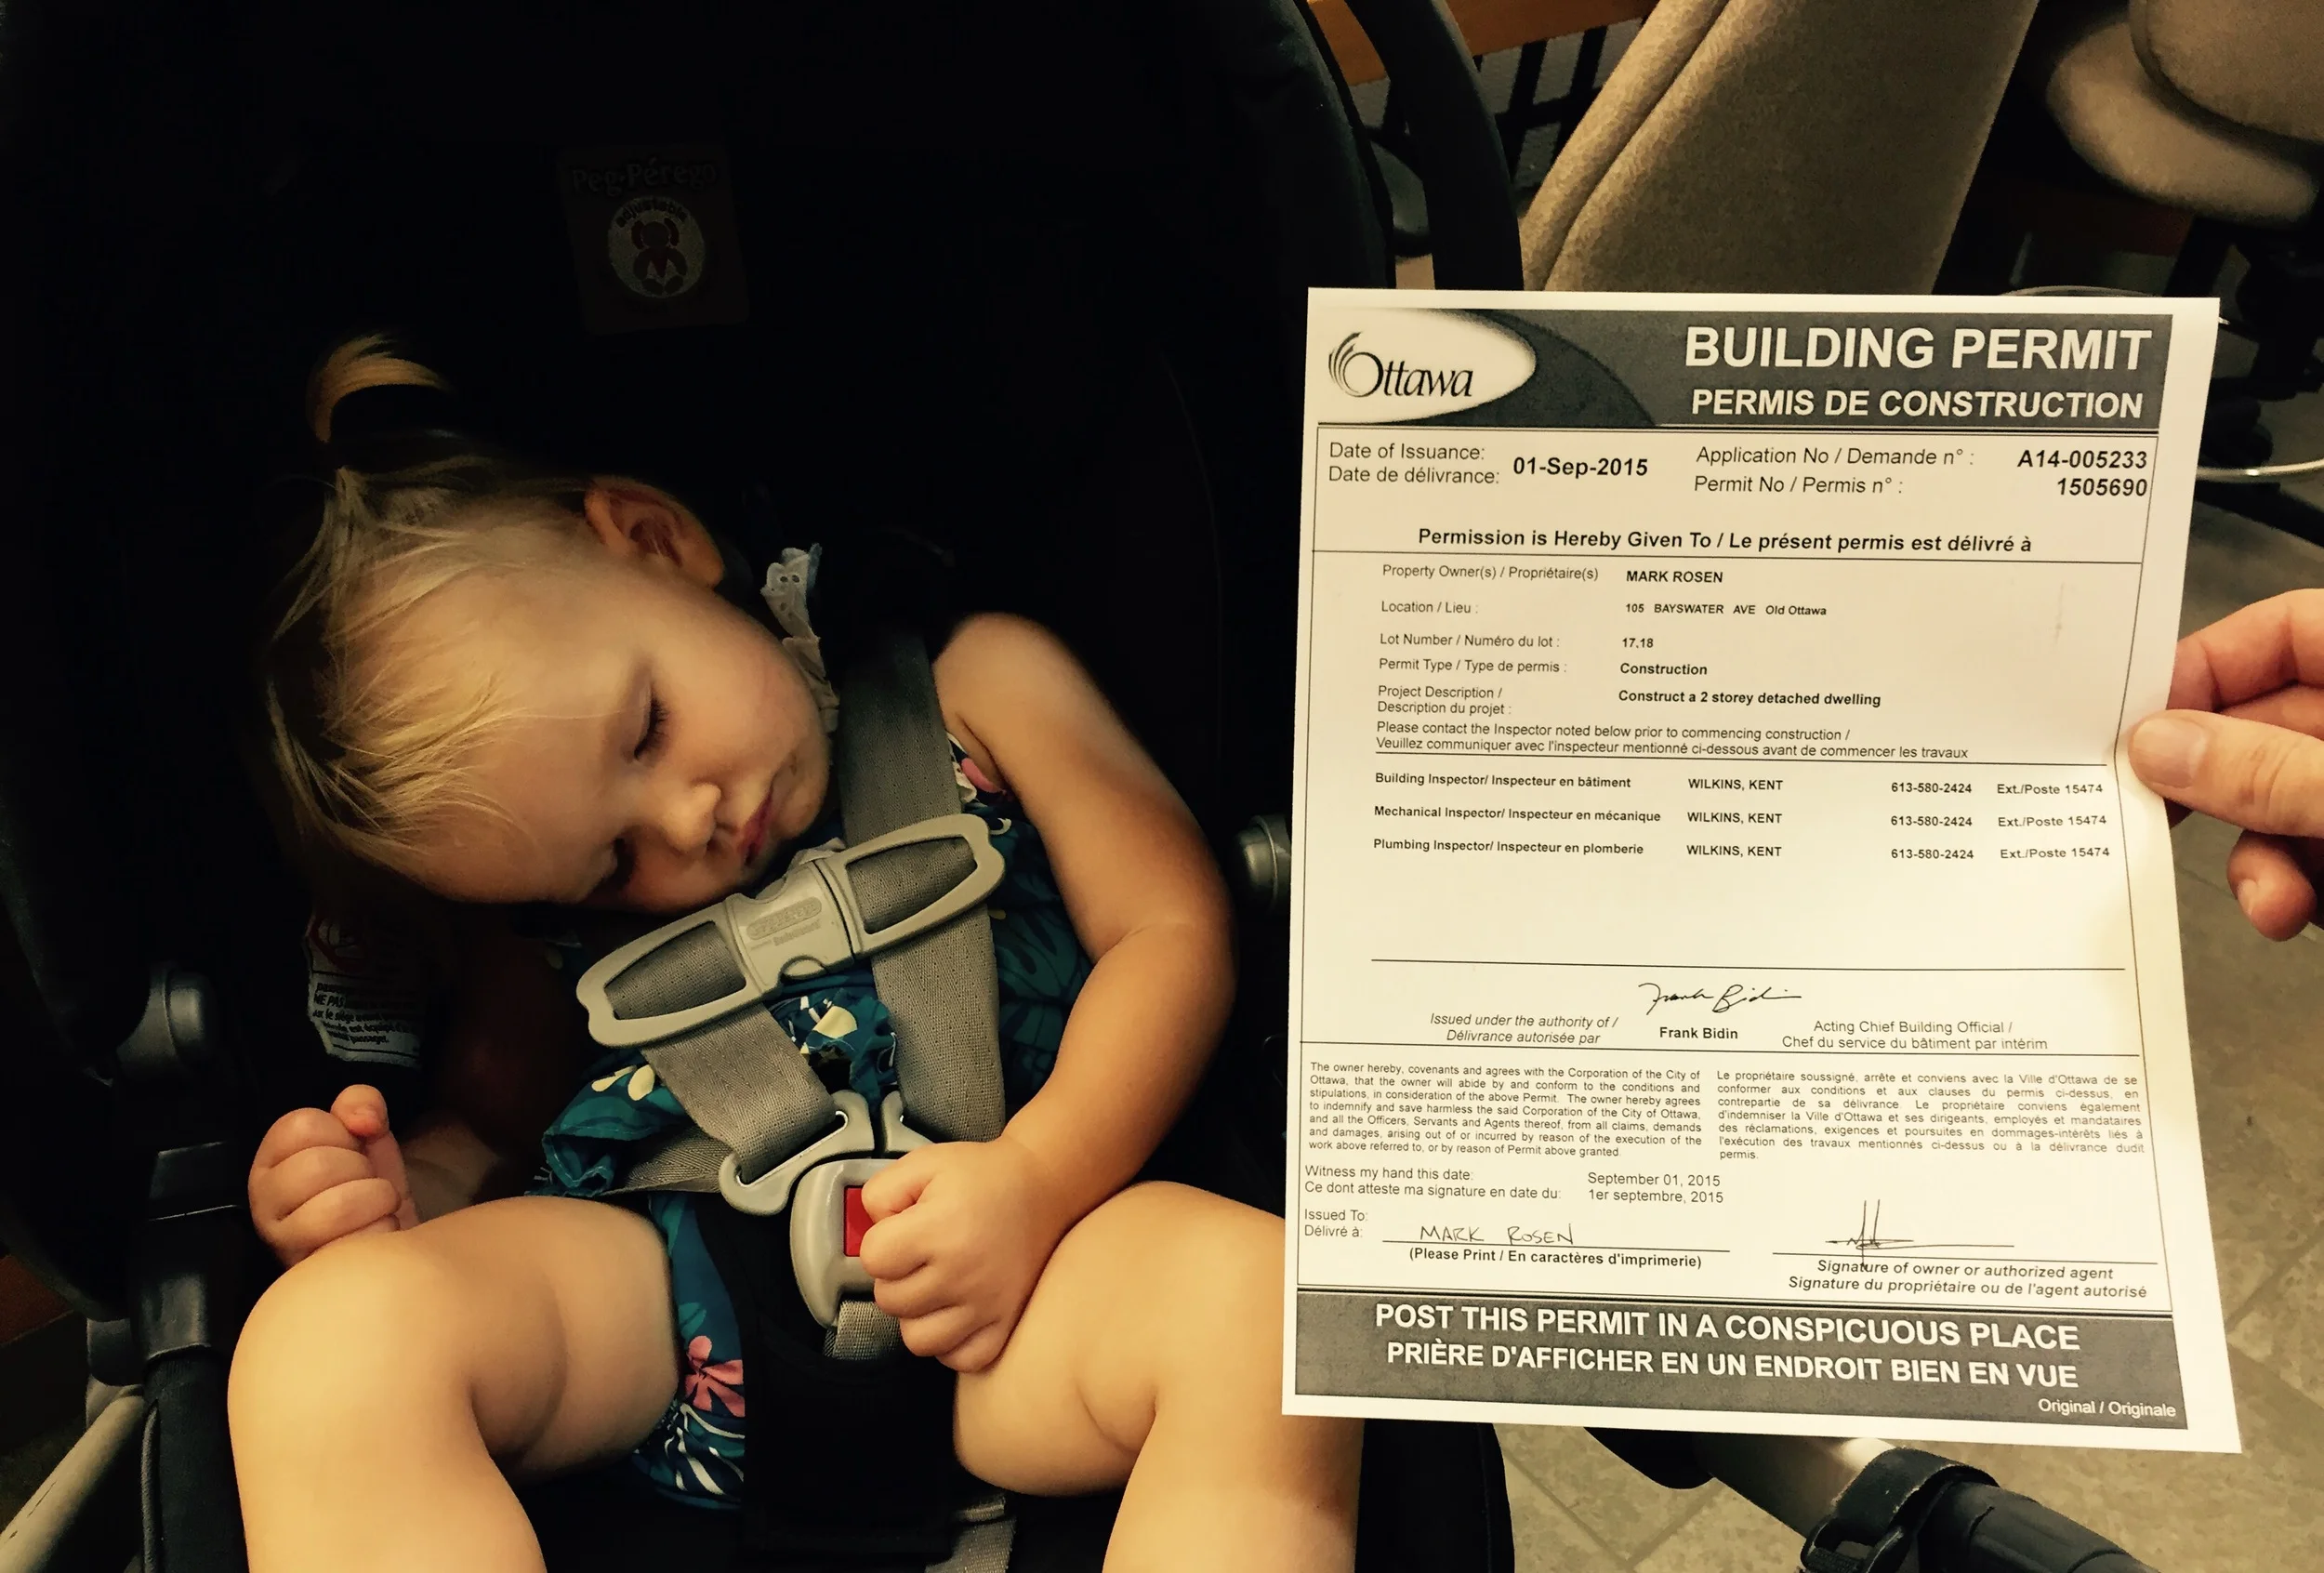
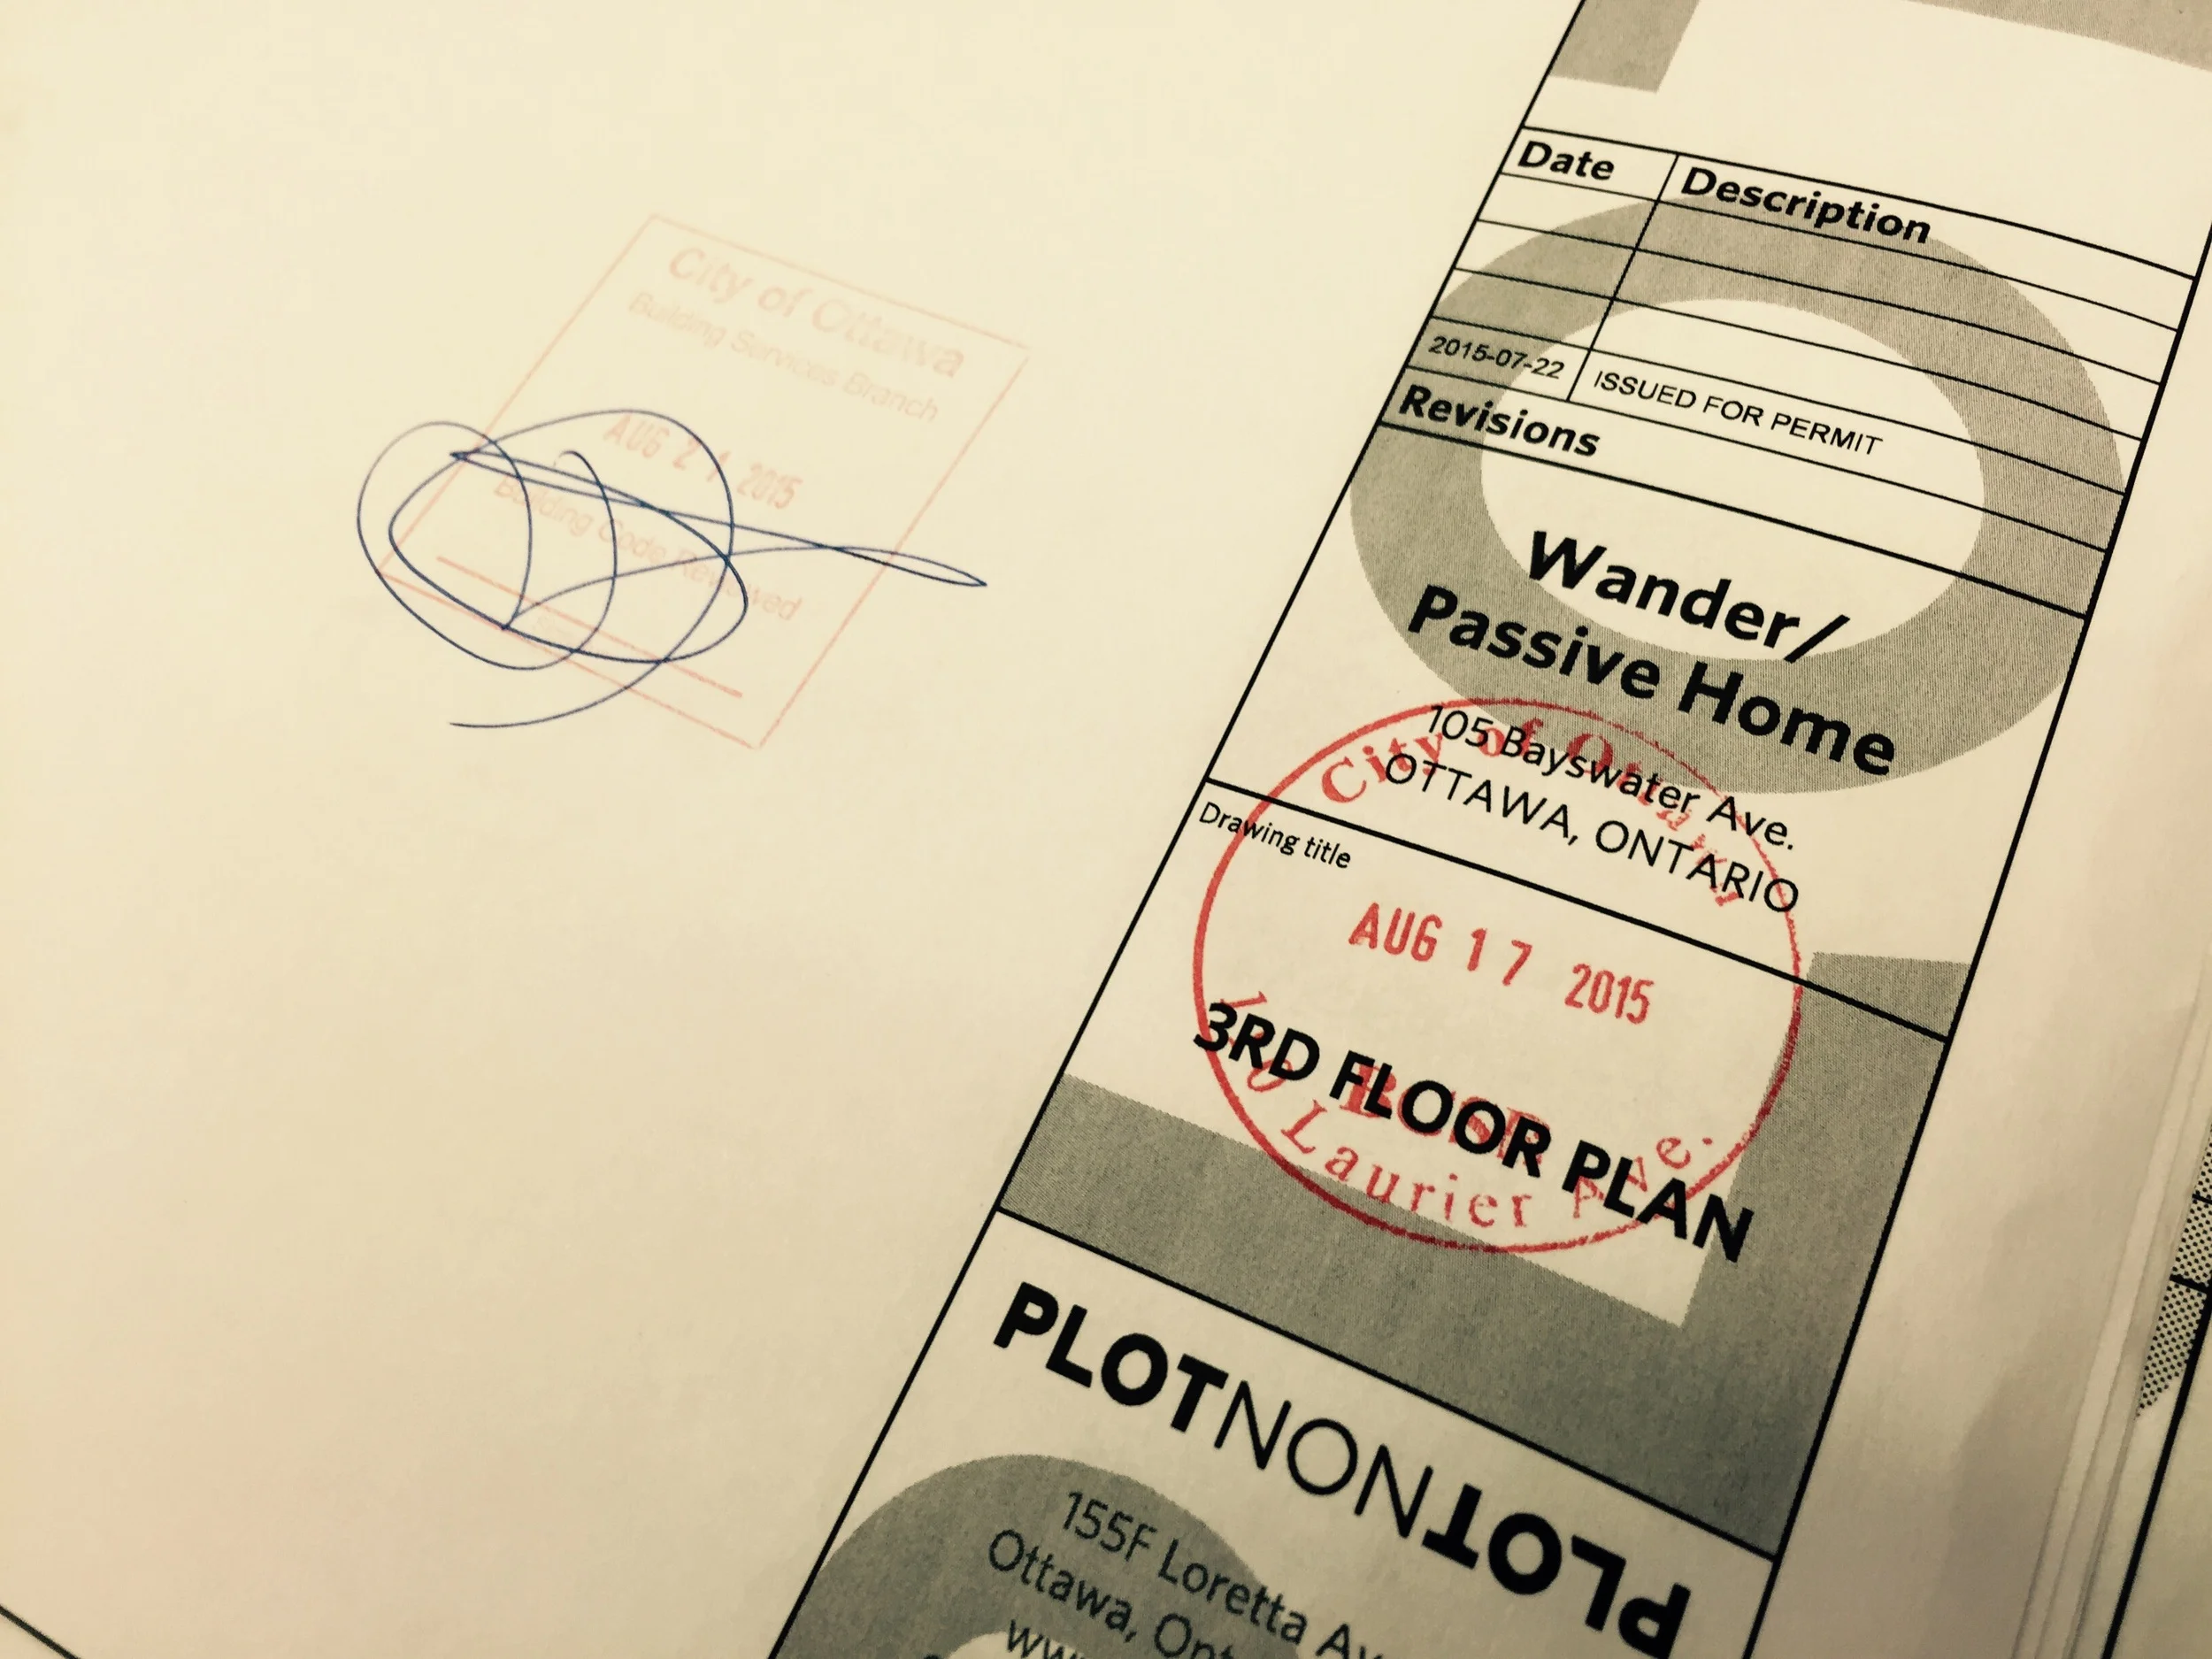
It’s a happy day at the Rosen household. We went to the city this afternoon to finally pick up our permit. Mark dropped off the revised drawing set on July 24th. We have our permit today, September 1st. 

After submitting it to the city in July, we had a couple back-and-forths with our building code/plans examiner. Mostly on things she needed clarification or more detail on – nothing major. She went on holiday for a week, which slowed things down, but we eventually got her sign-off a couple weeks ago. Overall, not too bad. We were feeling pretty good about how smoothly things were going with the permit application. When we asked when it would be available to pick-up, she asked us whether we had grading and zoning sign-off yet. Say what??

Turns out neither zoning or grading had received the drawings. Argh. Not sure whose responsibility distribution was (I would assume the City's), but alas. That is what we’ve been dealing with the last couple weeks — getting their sign-off (in and amongst holidays). And now here we are today. At long last: permit-ssion granted. It’s go time.

Permit-ssion granted

Permit-ssion granted

Banner cutting: work begins

I am proud to announce that work has begun! I've been waiting a long time to be able to say that. I'm feeling pretty good today. Our top-notch tree team, Ottawa Tree Surgeons, cleared the lot this morning. Quelle difference! I cannot believe how gigantic our silver maple looks now. And the lot!

Mark met our tree team and our excavators yesterday morning on the lot. The excavators are on-deck, so we wanted to ensure expectations were clear and the lot would be ready for them. Before they begin their work, we need to fence off a drip-zone around the silver maple — an orange fence that will remain for the duration of the build to protect the root zone of the tree.

Our city plans examiner took five days to respond to Mark's feedback only to say she needs a hardcopy and has since left on vacation. Argh. She'll be back tomorrow. And we're hoping the can turn around a permit for us right away so the dig can start next week. Wouldn't that be nice? Want to keep this momentum moving forwards. 

The construction mortgage demystified (part 2 of 2)

How it all works

A construction mortgage differs from your traditional mortgage in that nothing exists yet. Most traditional mortgages involve a down payment. So, for ease of calculation, let’s say you have a 500,000 mortgage that requires 10% down, that means you have to front $50,000 and the remainder is what the bank actually issues as your mortgage — $450,000. 

With our construction mortgage, the bank financed 100% of the land cost, which meant that at the time of purchase, we did not have to pay anything on the land.* We have only to pay the interest on the land until we start the build. As far as down payments go, at this pre-build stage, it has no one to go to, which is why they financed 100% for us. The bank assumes that we will pay the 10% (downpayment, if you will) towards the construction portion of the mortgage ourselves. So the actual mortgage amount granted has this amount subtracted from it already. 

Let’s say the land cost was $200,000 (A) and the build cost was $400,000 (B), for a project total of $600,000 (C) (these numbers are for illustration purposes only). The actual mortgage would then be for $540,000 (C minus 10%). Meaning you think it’s going to cost $400,000 to build, but are hoping to build it for less :p Capeesh? It took me a while to wrap my head around.

Construction mortgage breakdown (example)
Land cost (A) 200,000
Build cost (B) 400,000
Project cost (C) 600,000
Mortgage (C – 10%) 540,000
Effective build cost 340,000

When the build begins

As mentioned, until we start the build, we only pay interest on the land portion of the mortgage (like a line of credit, where you only pay the interest on the portion used). When we’re ready to start the build, we will be allocated a series of disbursements based on percentage of construction completed. CMHC decides what these breakdowns should be, and the bank issues the funds once someone has been out to site to confirm that the work has indeed been done. This means that money will be tight up until our first disbursement is issued (because we’ll have to front the money ourselves, and/or have to negotiate with our subcontractors for flexible payment terms). 

The disbursements used by CMHC %
Excavation, foundation 9
Damp proofing, drain, back fill 2
Frame, sheathing, roof 20
Doors, windows 6
Rough electrical 4
Rough plumbing 3
Insulation, air vapour barrier 5
Basement slab 2
Exterior finish 12
Drywall 9
HVAC 3
Complete electrical 1
Complete plumbing 4
Kitchen cabinets & bathroom vanities 6
Finish carpentry 5
Interior painting 2
Flooring 4
Site work 3

We are hoping that the above is just a guide and there’s some leniency. Because we’re building a Passive House, we’ll be investing a lot more on the envelope than a traditional build. So our numbers will be skewed towards insulation and windows and less towards HVAC and finishes. We shall see.

We can ask that the bank gives us as many disbursements as we want, but CMHC’s fees have allowed for four. Should we choose to ask for more, there are additional fees — not only from CMHC but also for lawyers and appraisers too. When we are ready, we let them know and they send someone out to confirm that the work we said was done was, in fact, done. We will likely ask for our first disbursement once the excavation is complete and our foundation is poured.

As the disbursements are issued, our interest payments will rise as our mortgage advances. For example, after the foundation is poured, CMHC may deem the construction 15% complete, at which stage we ask for our first disbursement. Using the numbers from earlier, we have $340,000 left from which to build our house. So our first disbursement will be 15% of $340,000, or $51,000. And we’re now paying interest on $251,000 up until our next disbursement/withdraw. See table below for the full story.

At the end of the process, when work is certified 100% complete, we will switch our mortgage over to a traditional mortgage. At which stage we will likely have some options. Do we want to take out a home equity line of credit because our completed house will be appraised at a higher value? Thoughts for later on…

Phew! I did it. And you made it to the end. Hope this helps other curious minds. Many people I've met have expressed interest in building, but aren't really sure how. Understanding the construction mortgage, and the fact that we actually might be able to get one with zero money down (for the land), was what set our wheels in motion. I still scratch my head over the fact that they were willing to give us so much money. But the bank's not stupid. They'll make their money.

Mortgage disbursement calculations (example)
% Complete x Build cost
(B = $340,000)
Disbursement
amount
Cumulative withdraws
on mortgage
15 51,000 51,000 251,000
50 170,000 119,000 370000
75 255000 85000 455000
100 340000 85000 540000

  • Earlier I stated that we did not have to pay anything on the land when we bought it because it was 100% financed. What the mortgage calculations do not take in to account are the soft costs. I wrote a post earlier about those effing soft costs. When we purchased the land, we had to pay the GST on the purchase, immediately, in cash (bank draft). We used equity from the sale of our house towards this. We also had to pay the city permit application and will soon be paying development fees (upwards of $21,000 or so) once the permit is actually issued. Yep, those soft costs hit hard. Ouch.

  • An uninsured construction mortgage will typically require 20% downpayment on the project, and be subject to a holdback of 10% on each disbursement. Something to bear in mind if this is the route you go.

The construction mortgage demystified (part 1 of 2)

I have been bugging Mark to write this post for a long time now. Fortunately/unfortunately he's too busy trying to get our house built. Thought I’d give it a shot. Not a bad idea for me to do anyhow, seeing as how it will probably bring clarity and ensure that I actually understand it too! I should be able to explain it or I have no business getting one.

As a disclaimer: every mortgage is unique, and I am in no way an expert. This is simply how it is working for us. Also, don't be discouraged if you don't understand it first time 'round. We met with our bank earlier this week and our banker had to ask another banker how it worked, and then we all figured it out together using a good ol' fashioned paper and pen.

So here goes.

Step 1: estimate project cost (A + B = C)

Rewind to a year and a half ago. When the land went up for sale. Before we put our offer on the land, we spoke to a construction mortgage specialist at Desjardins. Working with hypotheticals, guessing a best and worst case scenario for the sale of our home at the time, he was able to help us figure out how much money we might have to work with (C). At the same time, Mark and I were formulating ideas as to what kind of house we wanted to build on the lot (i.e. how big) and used a basic cost per square foot to help us do the math on the build (A). (I think we used around $250-300/sq.ft). In the simplest terms, the cost of the land (B) + the cost to build (A) would equal our project total (C) and therefore how much our construction mortgage application would be for.

The numbers were a uncomfortably high. But compared to the prices of older fixer-uppers and newer infills in the neighbourhood, there was no question: we had to do it. (We also wanted to…) When Mark and I decide we’re going to do something, we do it. There’s no half way for us. The land across the street was the only place in the city we wanted to be. There apparently was a competing bid on the land, so we made sure ours was adequately high and wrote a sympathetic letter to the neighbours selling the lot, hoping to warm up the offer.

It was accepted (yay) with a three week condition, which was based on the next step of the process: getting the bank to approve us for the construction mortgage. 

Step 2: get approved

In order for the bank to dish out the funds, we had to show them we could actually build a house on the land that would be appraised at a high enough value to warrant dishing them out. This meant that in three weeks time, we had to design a house, estimate the cost to build said house and get it appraised…Or else we’d lose the land. 

I might just add here that we were at a bit of an advantage because of Mark-itect. I wouldn’t normally suggest (and neither would he) that you design a house over the course of a weekend. But like I said “when we decide we’re doing something…”

Working around the clock, Mark and I designed a house. It was a good house. One that a has since evolved, but the basic program remains (and should theoretically be appraised at the same value). Mark was able to cost the build for us.* The bank appraised it at exactly what we were hoping they would.

  • This is where you want to enlist the services of a professional, be it an architect, builder or developer. Because the bank will not be satisfied with you ball-parking your build cost as a layman. Neighbours of ours up the street are GC’ing their own infill house, similar to ours, but neither are industry professionals. Which means the bank required 3 quotes from every single trade (from framers to painters), prior to approving their mortgage. A heck of a lot of work. I suppose if you didn’t have the three week condition, as we did, this task would be less daunting. Nonetheless.


Step 3: get approved...again

Because our “downpayment” would be less than 20%, our mortgage needed to be CMHC approved. Our Desjardins construction mortgage specialist, Etienne, forwarded on all the relevant information to CMHC.

Finally, we got the green light from both and the land was officially ours. Validation complete. It was a stressful three weeks, to say the least. 

Now that we’re finally approved, moving on to part two of this series, how it all works.